How I Launched This Website for Free with AI, Astro, and Cloudflare Pages
A practical walkthrough of how I used AI, Astro, and Cloudflare Pages to launch a personal website quickly, with zero hosting costs and minimal effort.
In this article, I’ll walk through how I built my personal website, a simple site with a blog, SEO, and minimal time and cost investment.
The approach is suitable for personal websites, portfolios, blogs, and landing pages. It is not intended for more complex applications that require user accounts, payments, or a database.
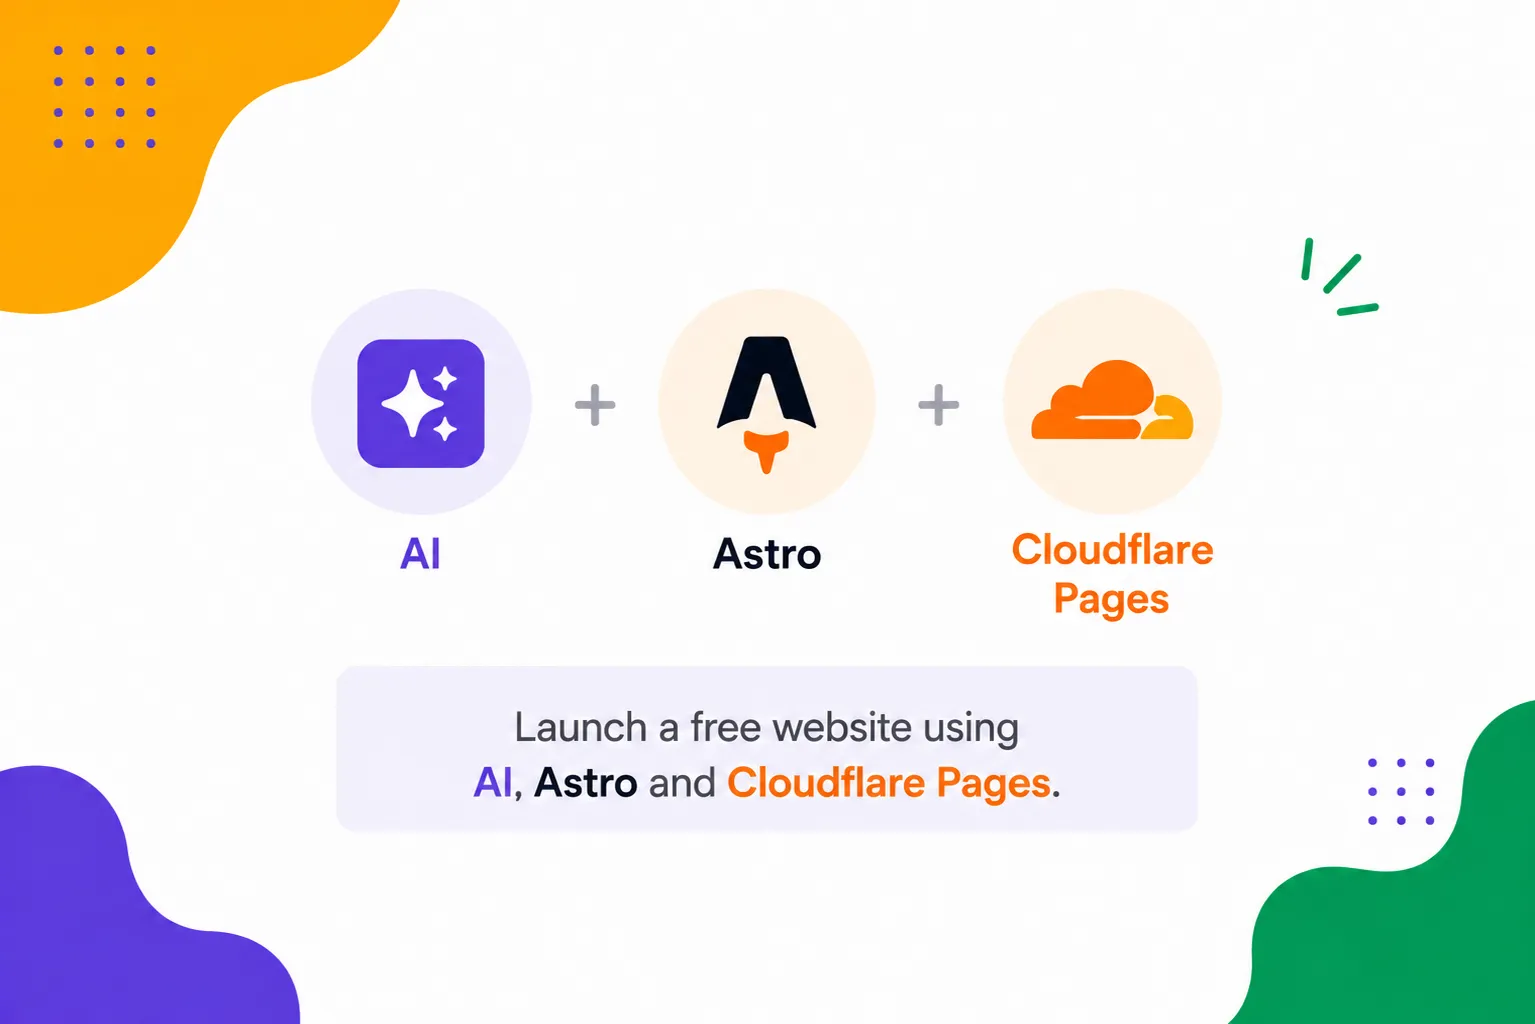
The stack
Stitch is a free Google Labs AI tool that generates user interface designs and frontend code from prompts. It is good for the first design and can export to Figma, as images, or as a single HTML file.
Cursor, Codex, or Claude bring the website to life. AI bootstraps the Astro project from the Stitch design and acts as an editor that reviews content, fact-checks, suggests changes, and fixes typos. A minimal subscription to one of these tools is enough. Most of us already pay for one for daily work, so I don’t count it as an extra cost.
Astro is a good choice for content-focused static sites. It is lightweight, supports Markdown and MDX for blogs and documentation, and includes built-in SEO, metadata management, and image optimization. It also works with Cloudflare Pages.
GitHub (or GitLab) stores the code and connects to Cloudflare Pages.
Cloudflare Pages deploys static sites from Git without pipelines. It includes HTTPS, preview deployments, rollbacks, and a free tier. Check the limits before using it for a serious project.
Step 1: Generate the Initial Design with Stitch
Open Stitch and describe the site you want. It generates the first design from your prompt. Be specific about sections, tone, colors, and layout.
Example prompt:
Create a clean personal website.

Requirements:
- Responsive layout
- Light theme
- Hero section with my name and short introduction
- About section
- Projects section
- Blog section
- Contact section
- Clear typography
- Plenty of whitespace

Color palette:
Background: #F7F5F2
Surface: #FFFFFF
Text: #1E1E1E
Primary: #2F5EED
Accent: #A88B5A
Review the design and iterate until you are satisfied. Then export it.
Step 2: Create an Astro Project
Create a Git repository. Add the exported Stitch design, then ask AI assistant to build it.
Example prompt:
Build a personal website with latest stable versions of Astro, TypeScript, and modern CSS based on the provided Stitch design.

Requirements:
- Recreate the design closely.
- Use Astro components.
- Do not add React, Vue, Svelte, Tailwind, Bootstrap, or another UI framework unless I approve it.
- Make the site responsive for mobile, tablet, and desktop.
- Use semantic HTML.
- Use CSS variables for colors, spacing, and typography.
- Add accessible navigation, headings, forms, and image alt text.
- Add SEO metadata, canonical URLs, and Open Graph metadata.
- Use Astro Content Collections for blog posts.
- Use Markdown for articles.
- Add a 404 page.

Pages:
- Home
- Blog
- Blog post
- Contact
- 404

Before coding:
1. Analyze the design.
2. List the typography, colors, spacing, layout, and components.
3. Ask about missing information.

After coding:
1. Run the project locally.
2. Check mobile and desktop layouts.
3. Check accessibility basics.
You will probably need several iterations. Generated code is a draft. Review it first.
Astro usually runs at http://localhost:4321
Step 3: Generate Content with AI
Use AI as a local editor by giving it a set of instructions. You can also generate those instructions with AI using the prompt below.
I want to create a professional AGENTS.md file for Codex (or CLAUDE.md for Claude) that turns the AI into a senior editor for my articles.

Before generating the file, ask me detailed questions about:

- My profession and expertise
- Target audience
- Writing style and tone
- Languages I write in
- Topics I cover
- Words and phrases I dislike
- Whether I prefer short or long articles
- Technical depth level
- Whether I want fact-checking
- Whether I want the AI to challenge my assumptions
- Whether I want SEO suggestions
- Whether I want title/excerpt generation
- Whether I want the AI to rewrite content or only review it

After collecting enough information:

1. Explain the purpose of every major section.
2. Suggest improvements based on my goals.
3. Keep instructions concise and high impact.
4. Avoid generic AI assistant rules.
5. Focus on editorial quality, technical accuracy, and preserving my writing style.

The final AGENTS.md should be production-ready and tailored specifically to me rather than being a generic template.
Step 4: Deploy to Cloudflare Pages
Push the project to GitHub. Then open Cloudflare and go to Workers & Pages. Click on Create application and follow instructions.
Cloudflare Pages will build and publish the site. Future pushes to the selected branch trigger new deployments.
If you own a domain, add it to Cloudflare and attach it to the Pages project. Cloudflare will handle the HTTPS certificate.
Final Thoughts
This article is not just about building a website. It’s about using AI and managed services to handle small but time-consuming tasks, letting you focus on what matters.
As many people build full infrastructure stacks for simple websites like this, I hope this walkthrough helps avoid unnecessary overengineering and highlights other low-value tasks that can be simplified or automated.